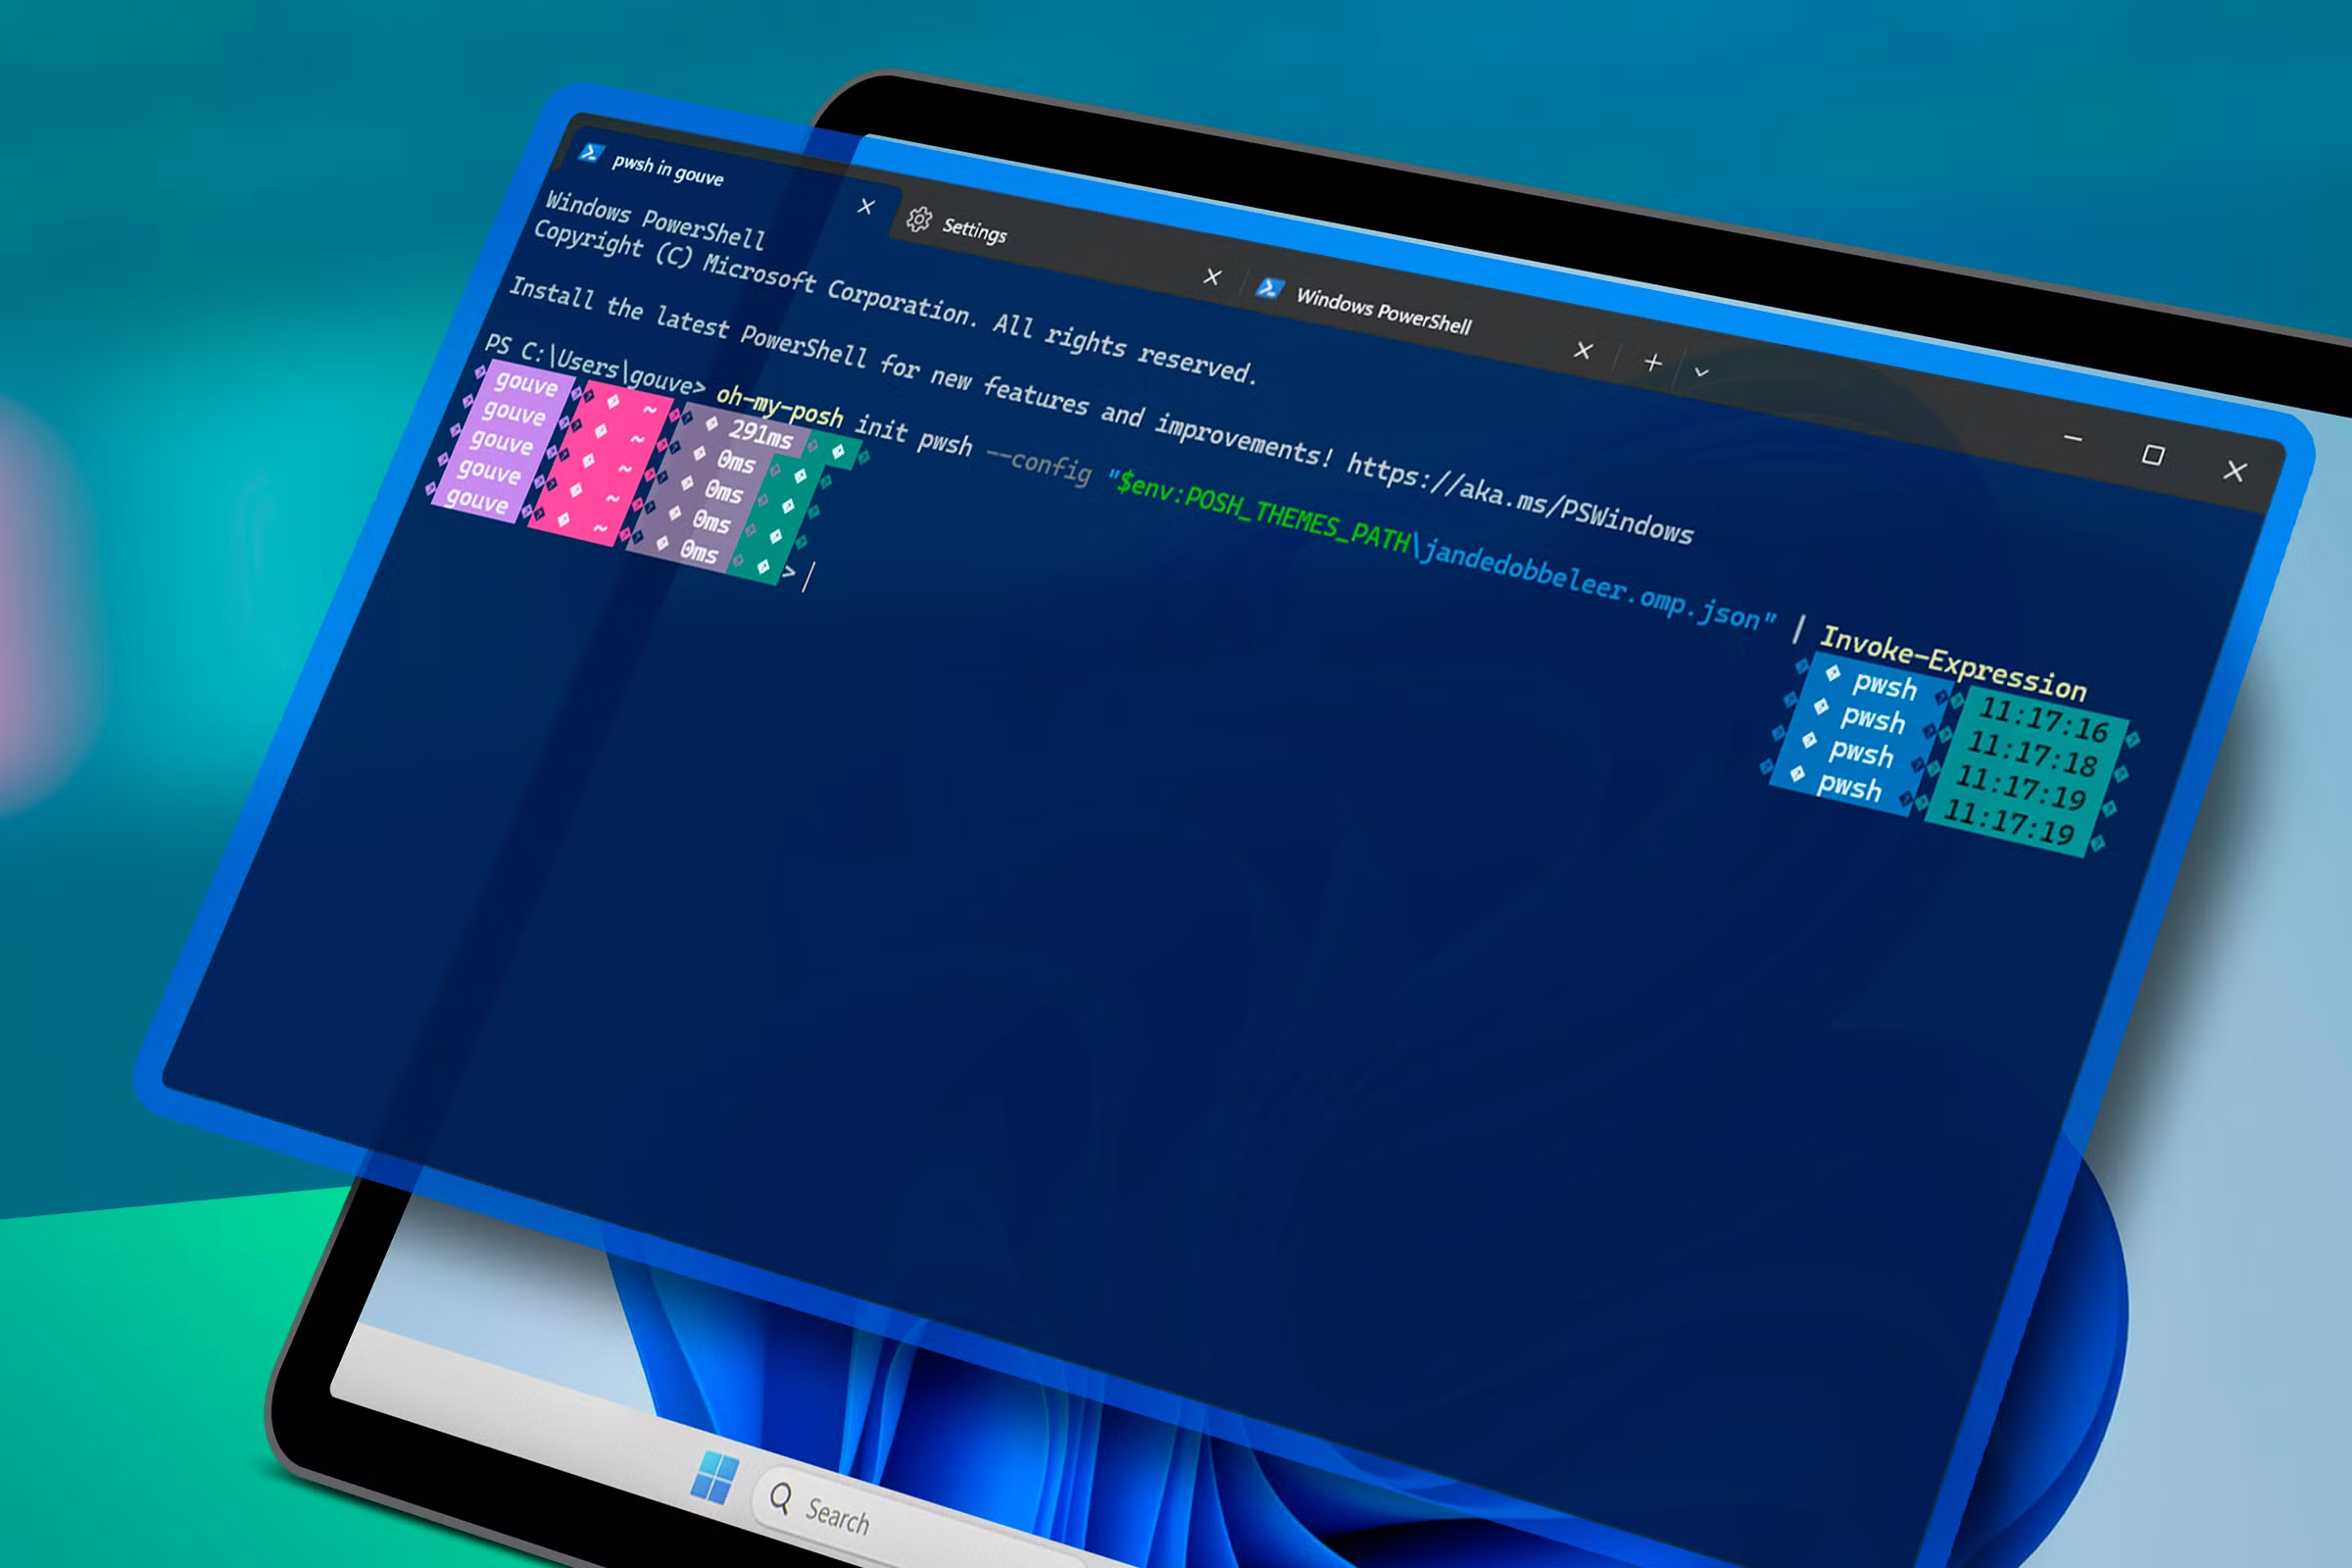
Tired of manually downloading and installing apps? Let me show you how to make your life easier by using Windows Terminal on Windows 10 or 11. With just a few commands, you can skip the hassle and enjoy a faster, cleaner installation process. Learn how to install apps with Windows Terminal for a streamlined experience!
In this guide, we’ll explore the benefits of using commands to install apps with Windows Terminal, discuss essential tools like winget, and provide a step-by-step tutorial to get you started.
I remember setting up a new work laptop for a project and spending hours downloading apps manually. After learning how to install apps with Windows Terminal, I cut my setup time in half! It’s a game-changer, especially when managing multiple installations.

Table of Contents
Why Use Commands to Install Apps with Windows Terminal?
Benefits
- Speed and Efficiency: When you install apps with Windows Terminal, you avoid the need to click through endless installer screens, saving you valuable time.
- Automation: For IT professionals and developers, scripting installations with Windows Terminal allows you to set up multiple devices quickly.
- Cleaner Installations: You can install apps with Windows Terminal without worrying about unnecessary bloatware that often comes with manual installations.
- Automating New Machine Setups: When setting up a new machine, you can automate the process and install apps with Windows Terminal by running a single script.
- Streamlining Professional Workflows: Developers can script their development environment setups, ensuring they can install apps with Windows Terminal quickly and consistently.
How to Install Apps with Windows Terminal: A Step-by-Step Guide
Prerequisites
Before you begin, make sure your system is ready to install apps with Windows Terminal:
- Ensure you’re running Windows 10 (2004 or newer) or Windows 11.
- Update PowerShell or Windows Terminal to the latest version for optimal performance.
Step 1: Tools Overview
To install apps with Windows Terminal, you’ll use Windows Package Manager (winget). It’s a built-in tool designed for managing installations through the command line, and it’s perfect for most users.
- winget is pre-installed on Windows 10 (2004+) and Windows 11. Here’s how to check if it’s already set up:
- Open Windows Terminal and type:
winget --version- If it’s not installed, you can download it from the official GitHub repository.
Alternative Tools for Power Users
- Chocolatey: A more advanced package manager for IT admins and developers.
- Scoop: A lightweight tool designed for power users who prefer minimalism.
Step 2: Installing Apps with Windows Terminal
Now, let’s dive into the commands you’ll need to install apps with Windows Terminal using winget.
Basic Commands for winget
- Search for Apps
You can search for the app you want to install by running:
winget search <app-name>
For example, to search for VLC:
winget search VLC- Install an App
Once you’ve found the app you need, install apps with Windows Terminal using:
winget install <app-name>
Example:
winget install VideoLAN.VLC- View Installed Apps
To see a list of all apps you’ve installed with Windows Terminal, use:
winget listAdvanced Commands
- Install Specific Versions
If you need a specific version of an app, you can do so with:
winget install <app-name> --version X.X.X- Automate Multiple Installations
You can streamline your installation process and install apps with Windows Terminal by scripting multiple installations at once:
winget install --id <app-id-1> && winget install --id <app-id-2>Step 3: Troubleshooting and Tips
- Missing Dependencies: If an app requires specific dependencies, ensure all system updates are installed.
- Unsupported Versions: Double-check if the app is available in the winget repository before trying to install apps with Windows Terminal.
- Logs and Error Messages: If you encounter an error, use the
--verboseflag to view detailed error messages for troubleshooting.
Comparing GUI vs. Command-Line Installations
When it comes to installing apps, using the command line to install apps with Windows Terminal offers several advantages over traditional GUI methods:
- Faster Installations: You can skip through the GUI setup screens and install apps with Windows Terminal much faster.
- Reduced Errors: Command-line installations are less prone to user errors compared to clicking through multiple setup screens.
- Enhanced Security: By using trusted repositories like winget, you ensure that the apps you’re installing are secure.
Trusted Resources for Installing Apps
For more information, check out these official resources:
Expert Quote
“Command-line tools like winget are essential for managing modern IT environments. They save time, reduce errors, and streamline the setup process.” – An IT Administrator
Pro Tips for Installing Apps Securely
- Verify Sources: Always verify where you’re downloading apps from to avoid malicious software.
- Stick to Trusted Repositories: Use official sources like winget, Chocolatey, and Scoop to install apps with Windows Terminal safely.
Conclusion
Learning to install apps with Windows Terminal isn’t just about saving time; it’s about gaining better control over your system, automating setups, and enhancing security. From winget to advanced scripting options, there are plenty of ways to optimize your app installations.
Next time you need to install apps with Windows Terminal, give these tips a try and experience how much easier it can make your tech setup. For more tech tutorials, check out related posts on OneDev, such as Automating Tasks with PowerShell or Managing Updates with Command-Line Tools.
Have questions or tips to share? Drop a comment below—I’d love to hear your experiences with Windows Terminal!
checkout more useful topics in pro tips


[…] Python, you can save time, minimize errors, and boost productivity. Learning Tips and tricks give a developer a unfair […]